Appearance
Facebook/AiX Setup
Step 1 - Link to AiX Business Manager Account
a. Click "business settings"-->"Partners"-->"Add"--> Select Give a partner access to your assets.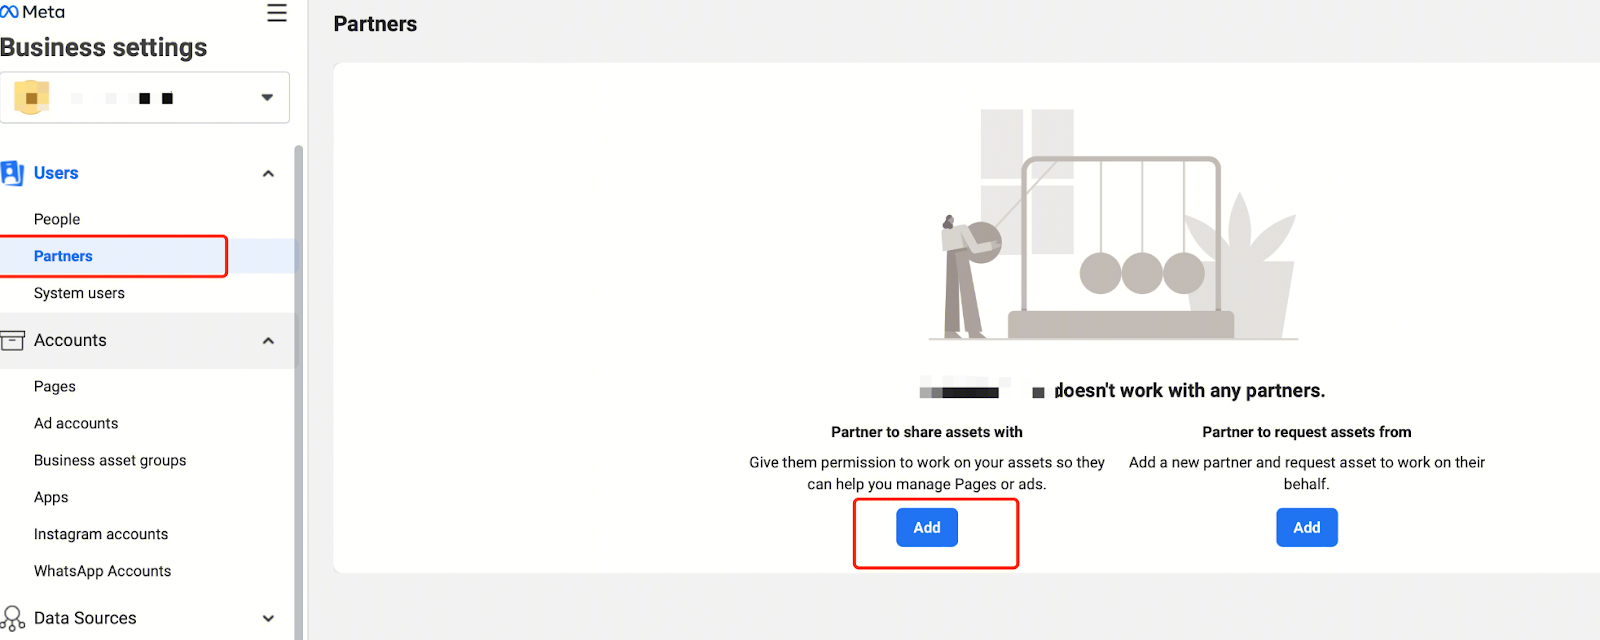
b.Enter AiX Business ID (1067286290403775) --> Click Next.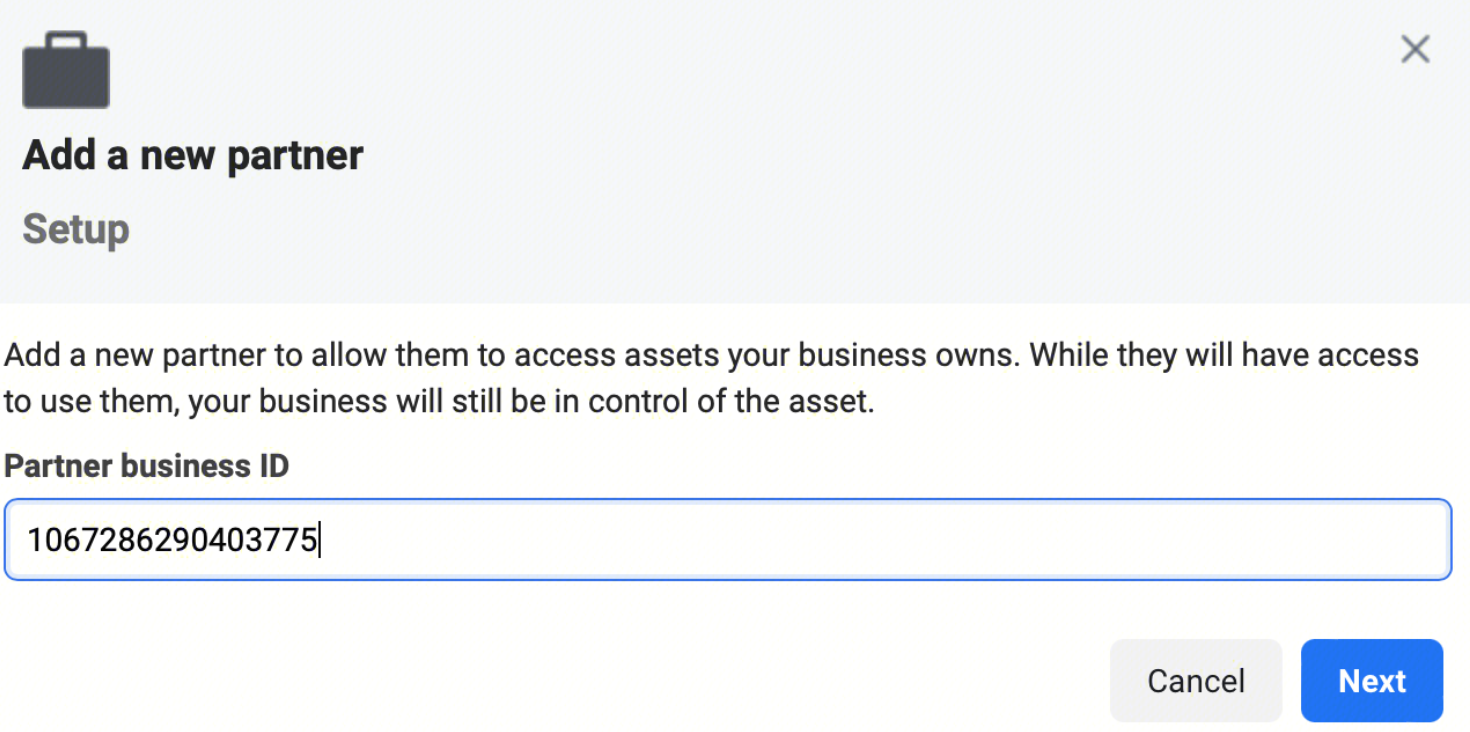
c.Assign the relevant assets including Ad accounts, Pages, Apps(if any) and Pixels(if any) with at least edit-level access. Click Save changes.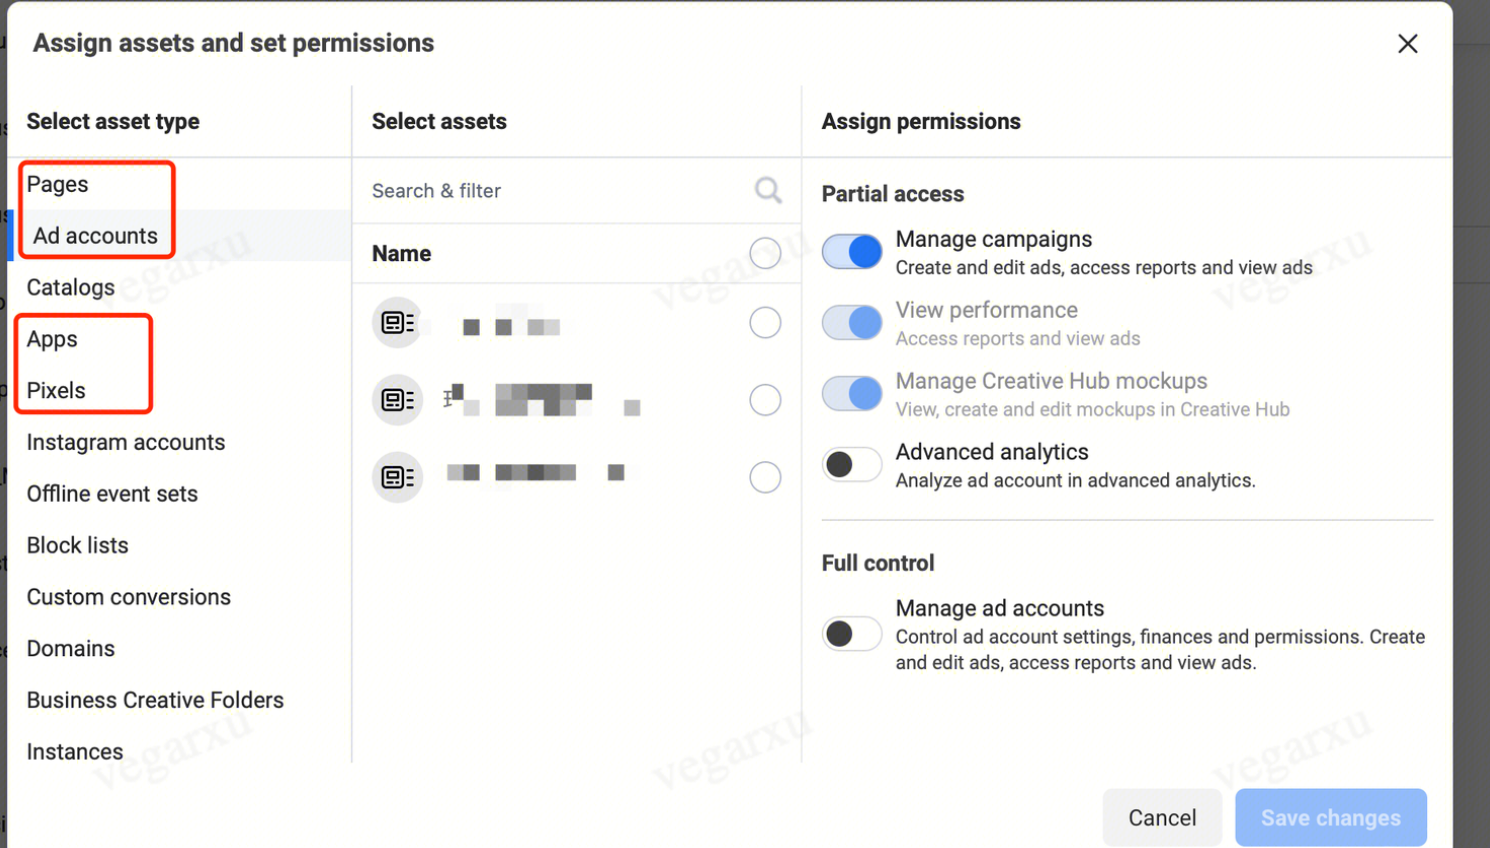
Step 2 - Select an Authorization Channel
a. Select either access portal
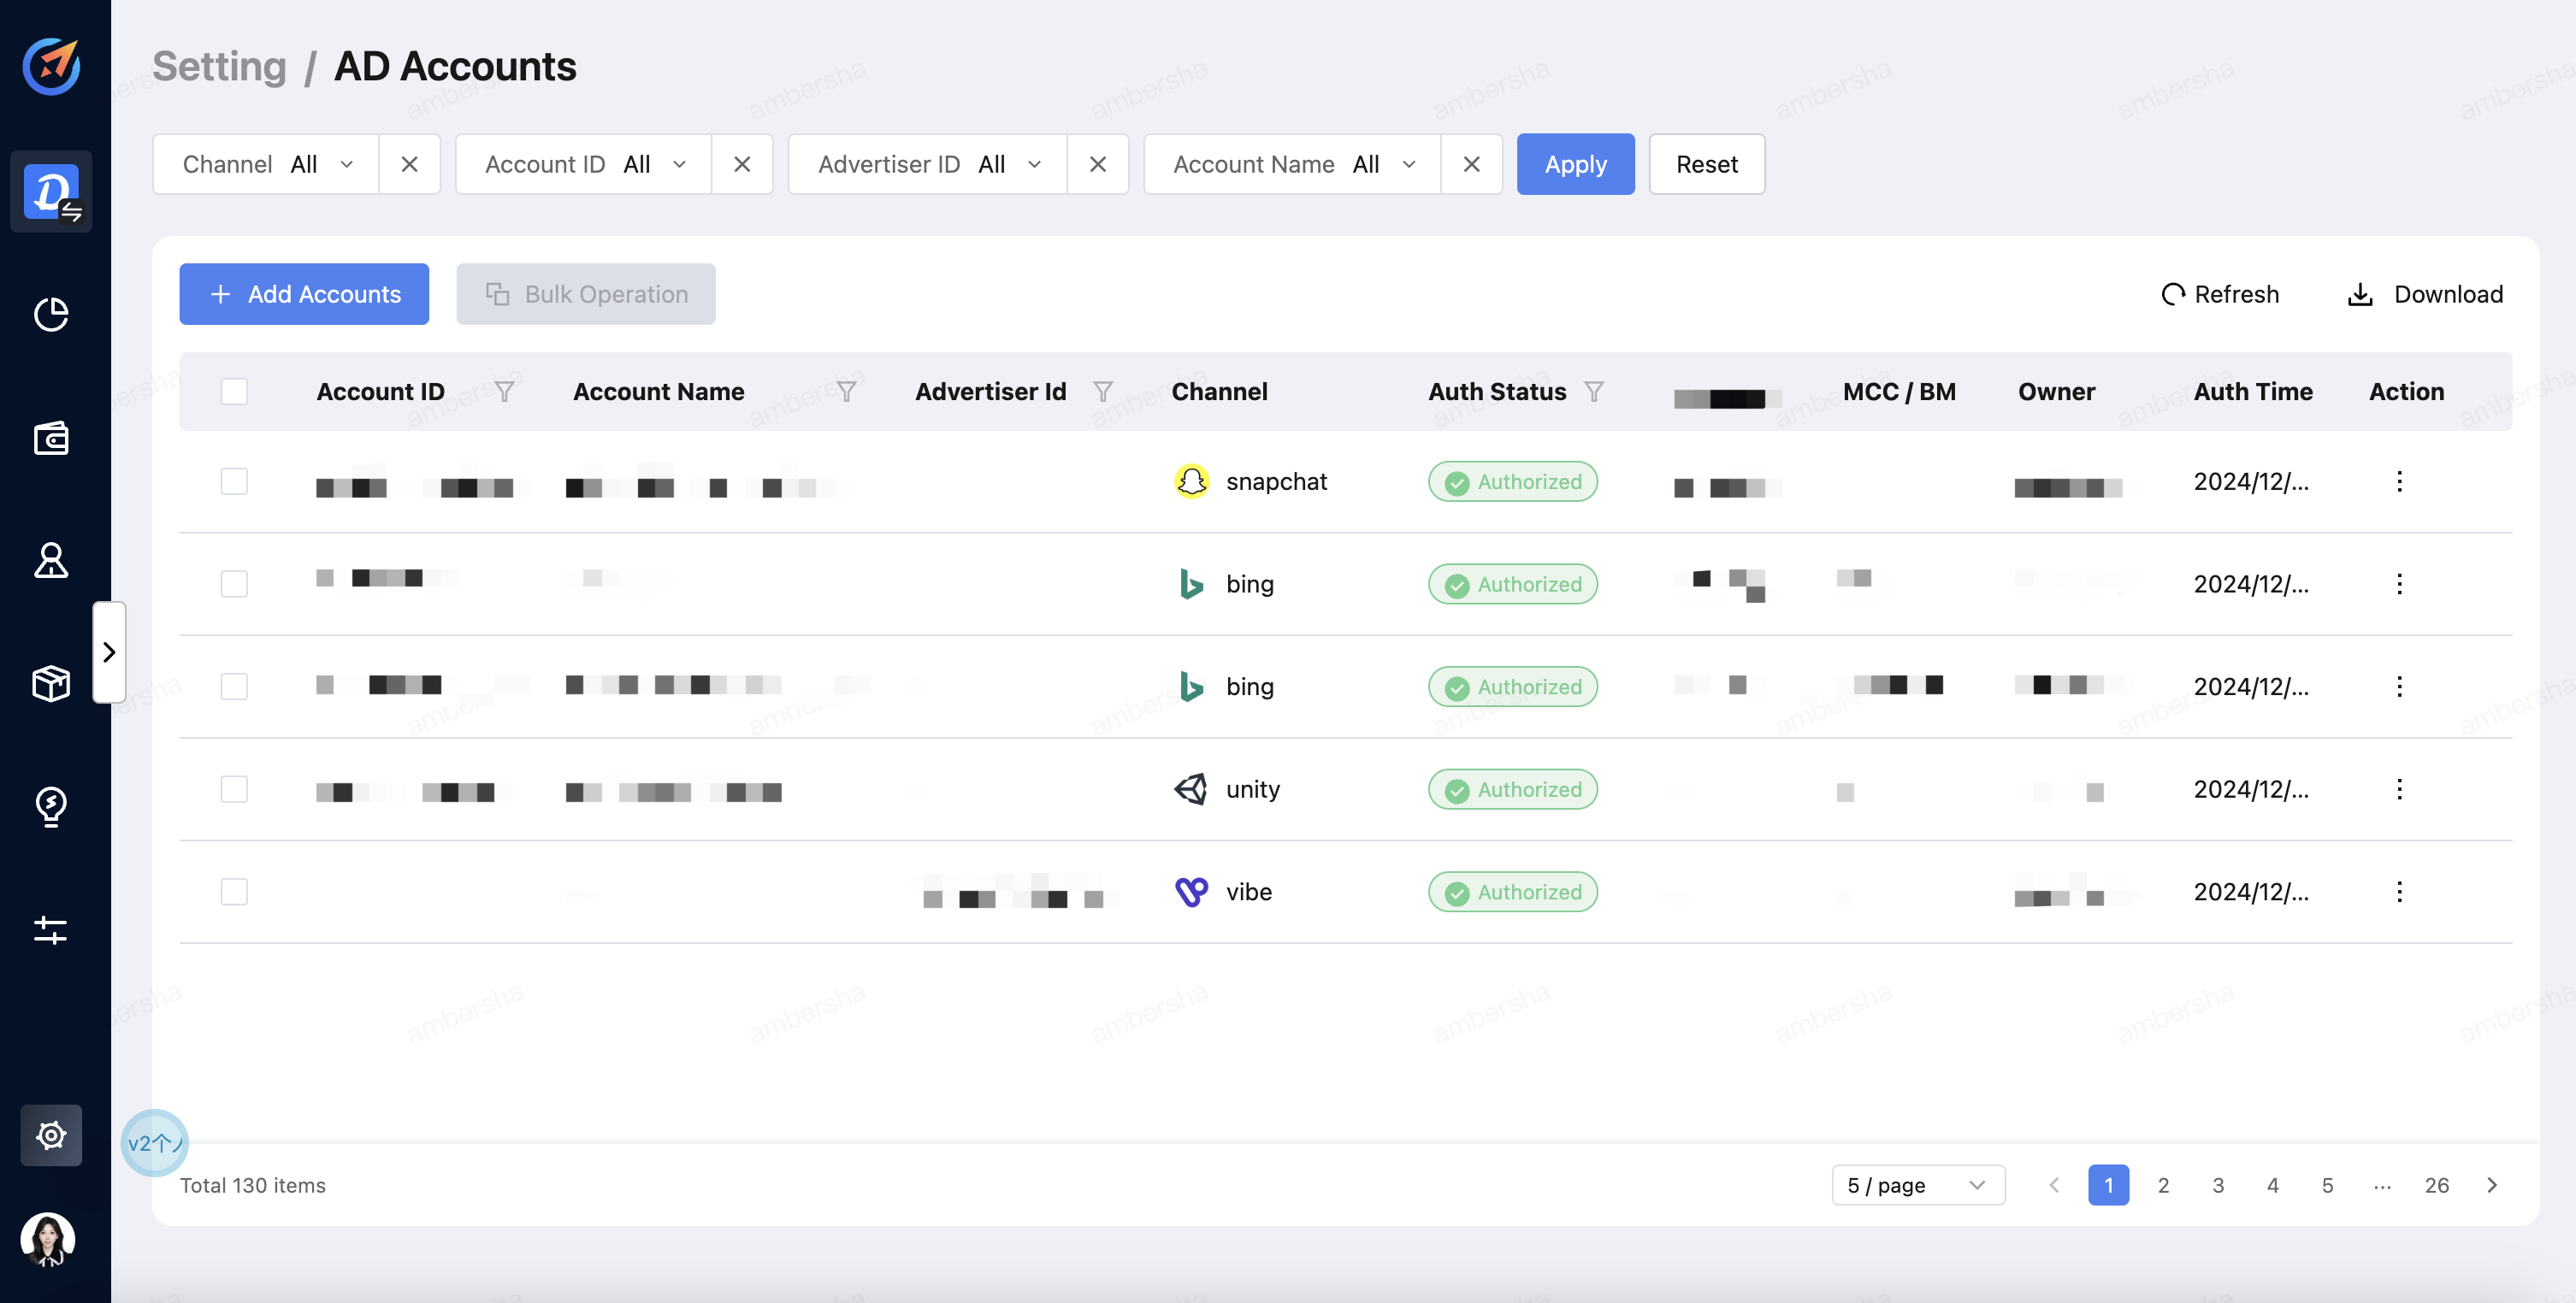
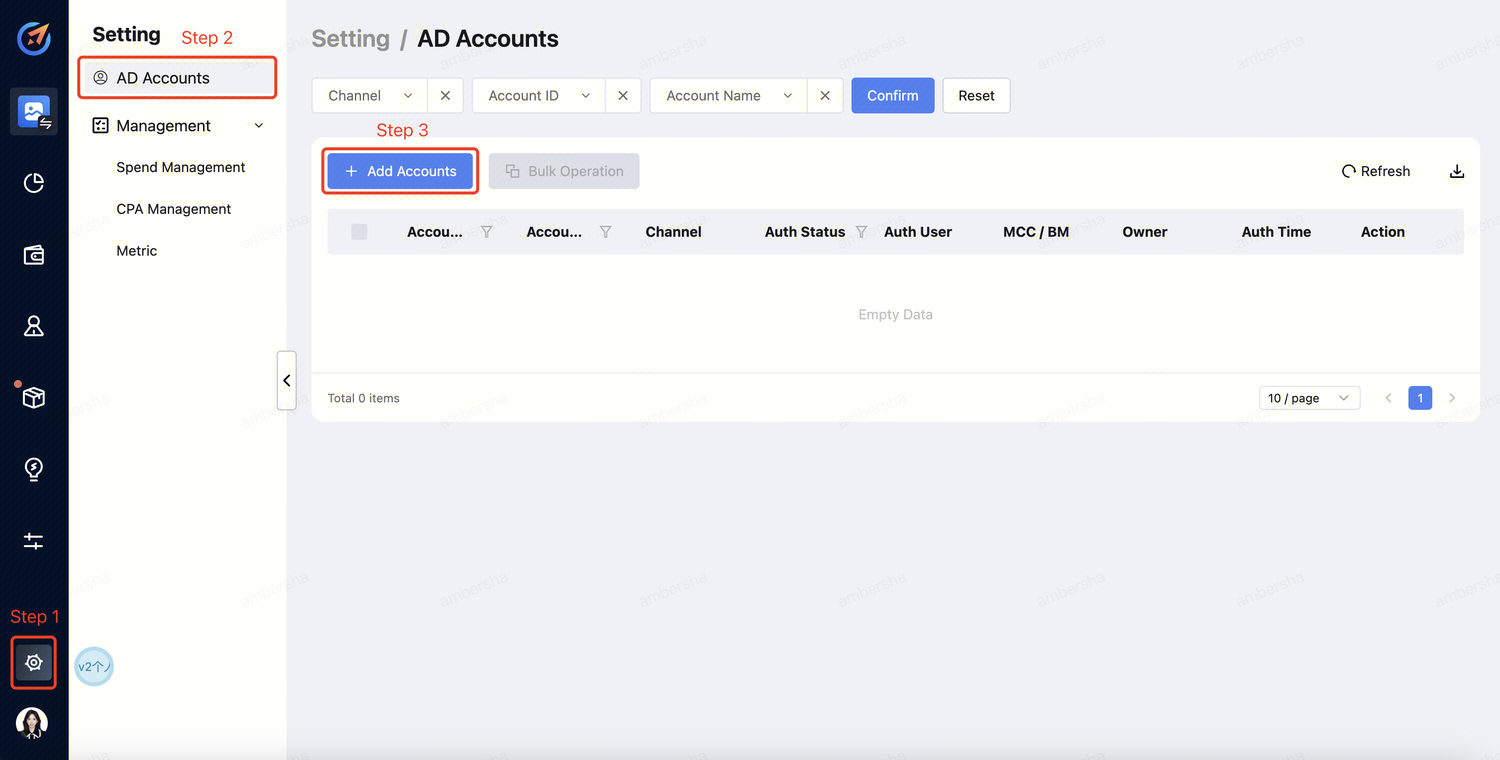
Click "Setting" --> "AD Accounts" --> "Add Accounts" .
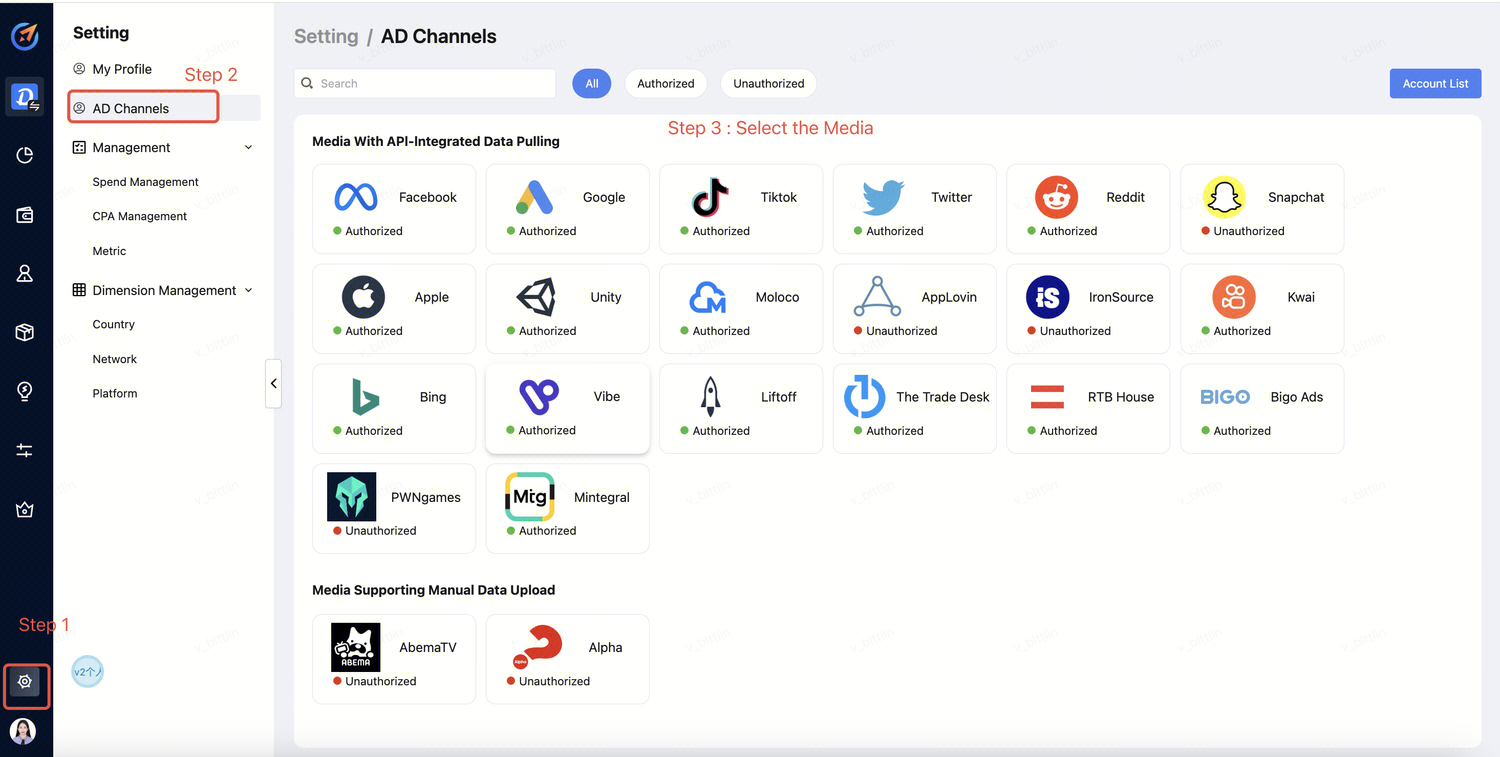
Click "Setting" -->"AD Channels" --> "Select the Media".
Step 3 - Account Login
a. Select the channel and click "Sign in". 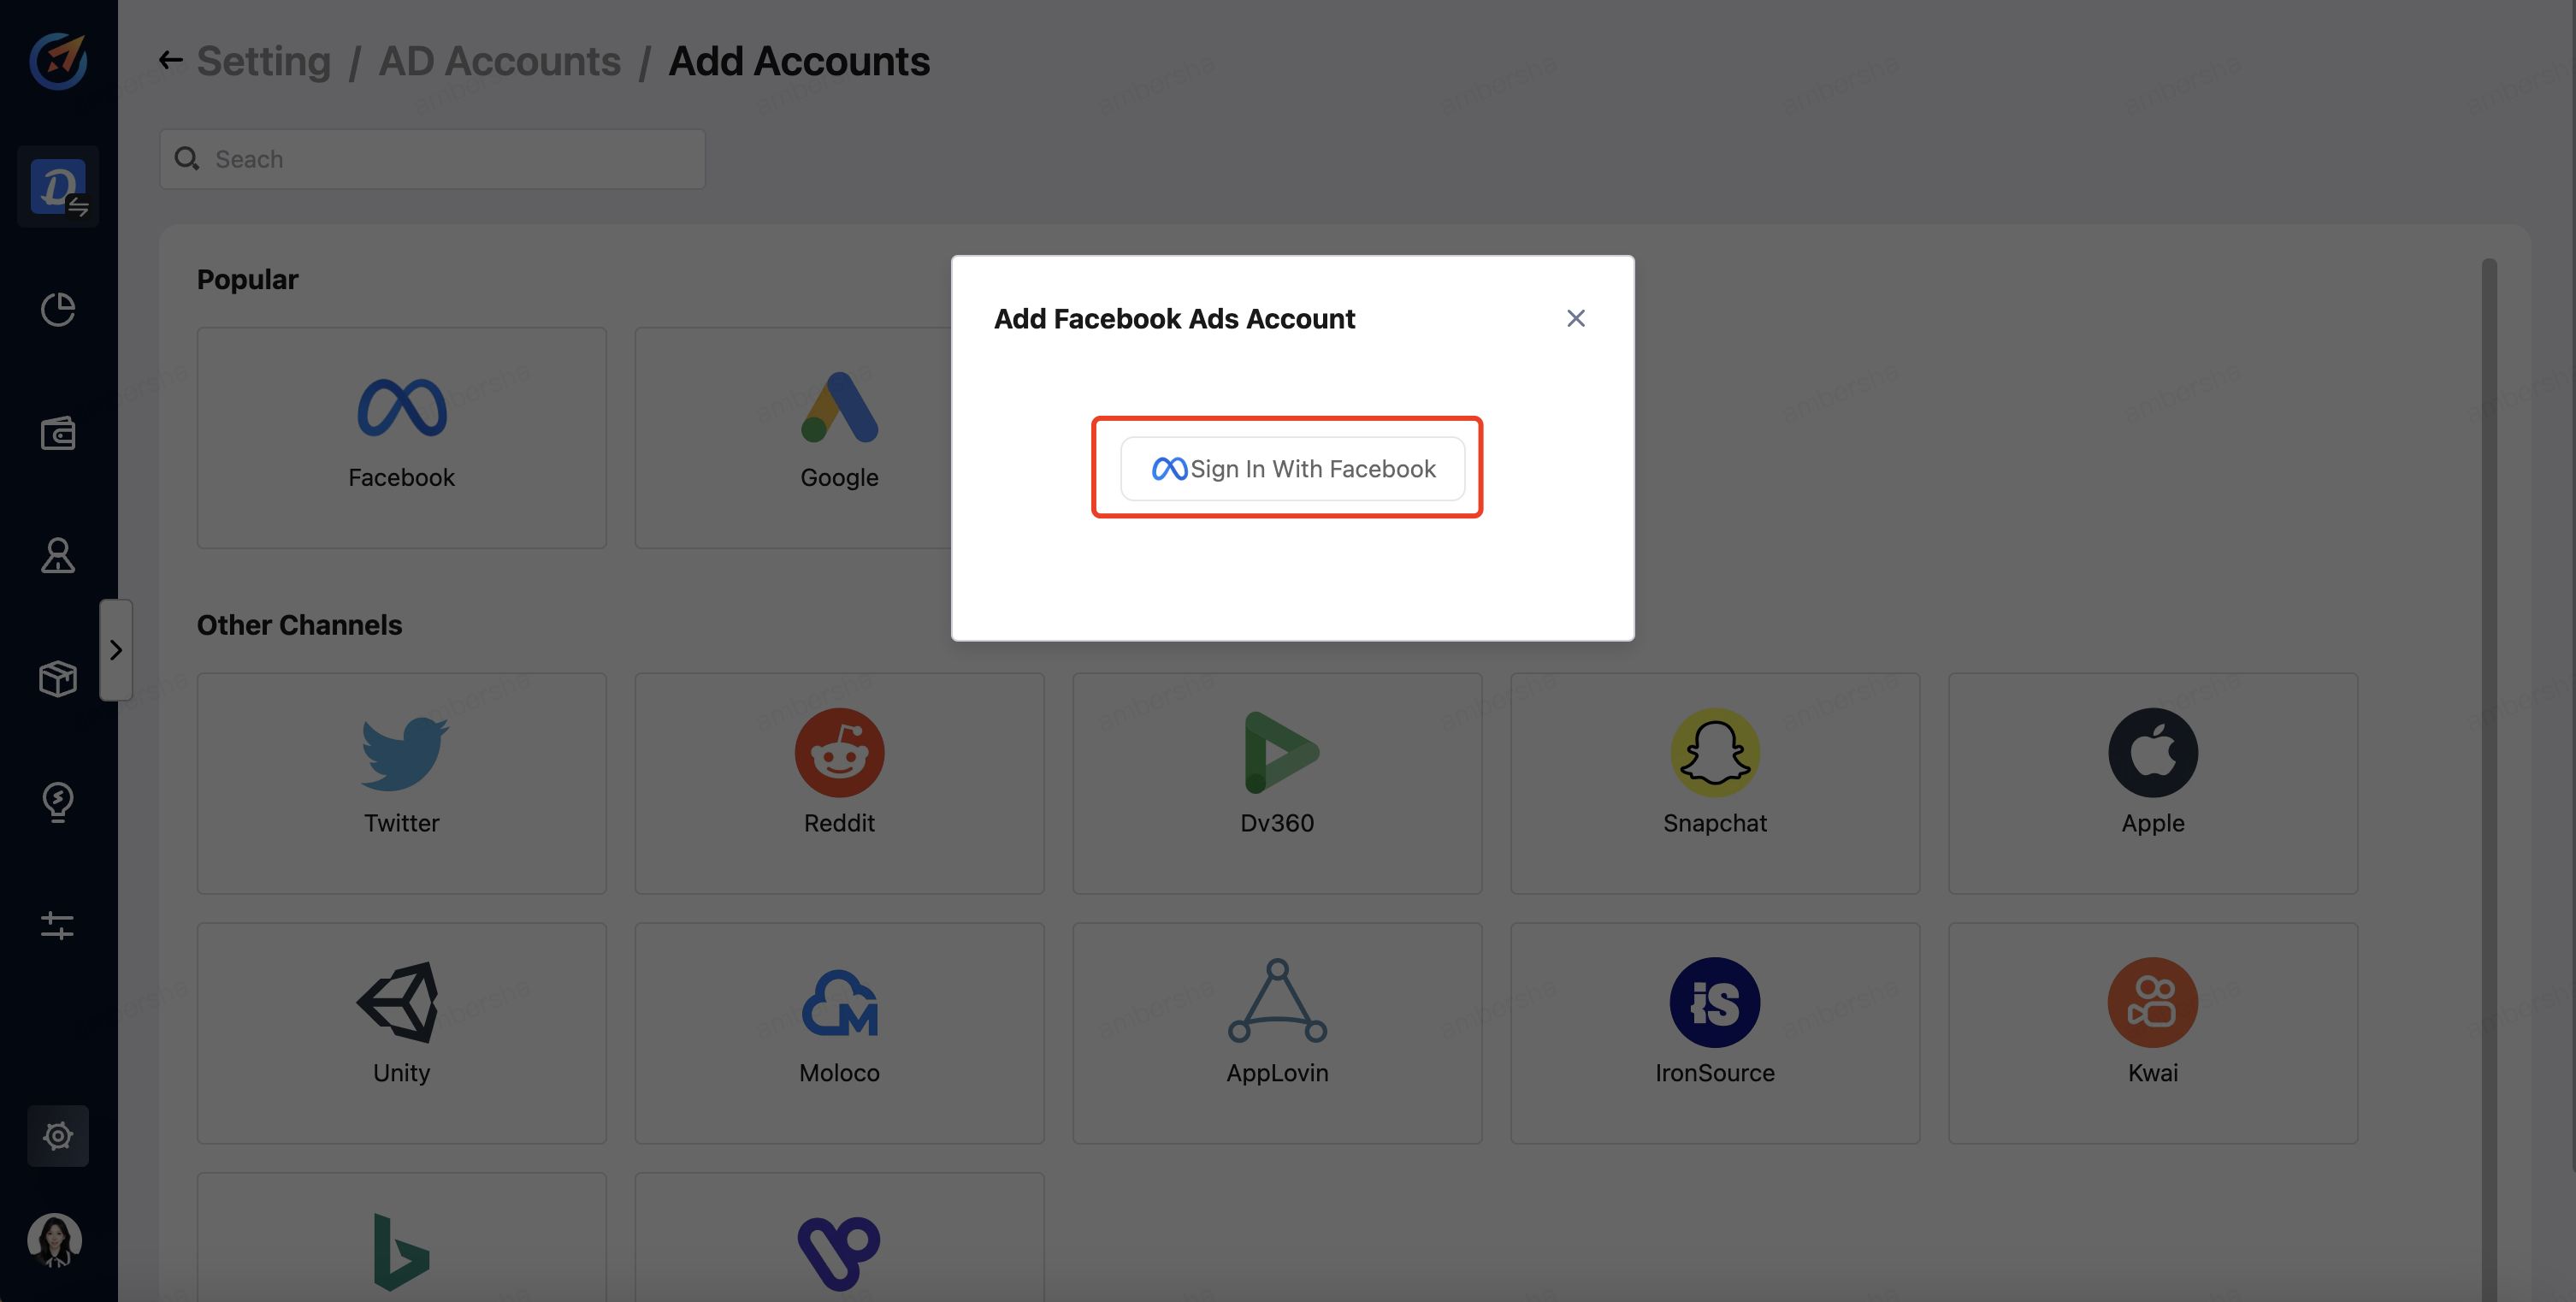
b. Log in to your Facebook account. 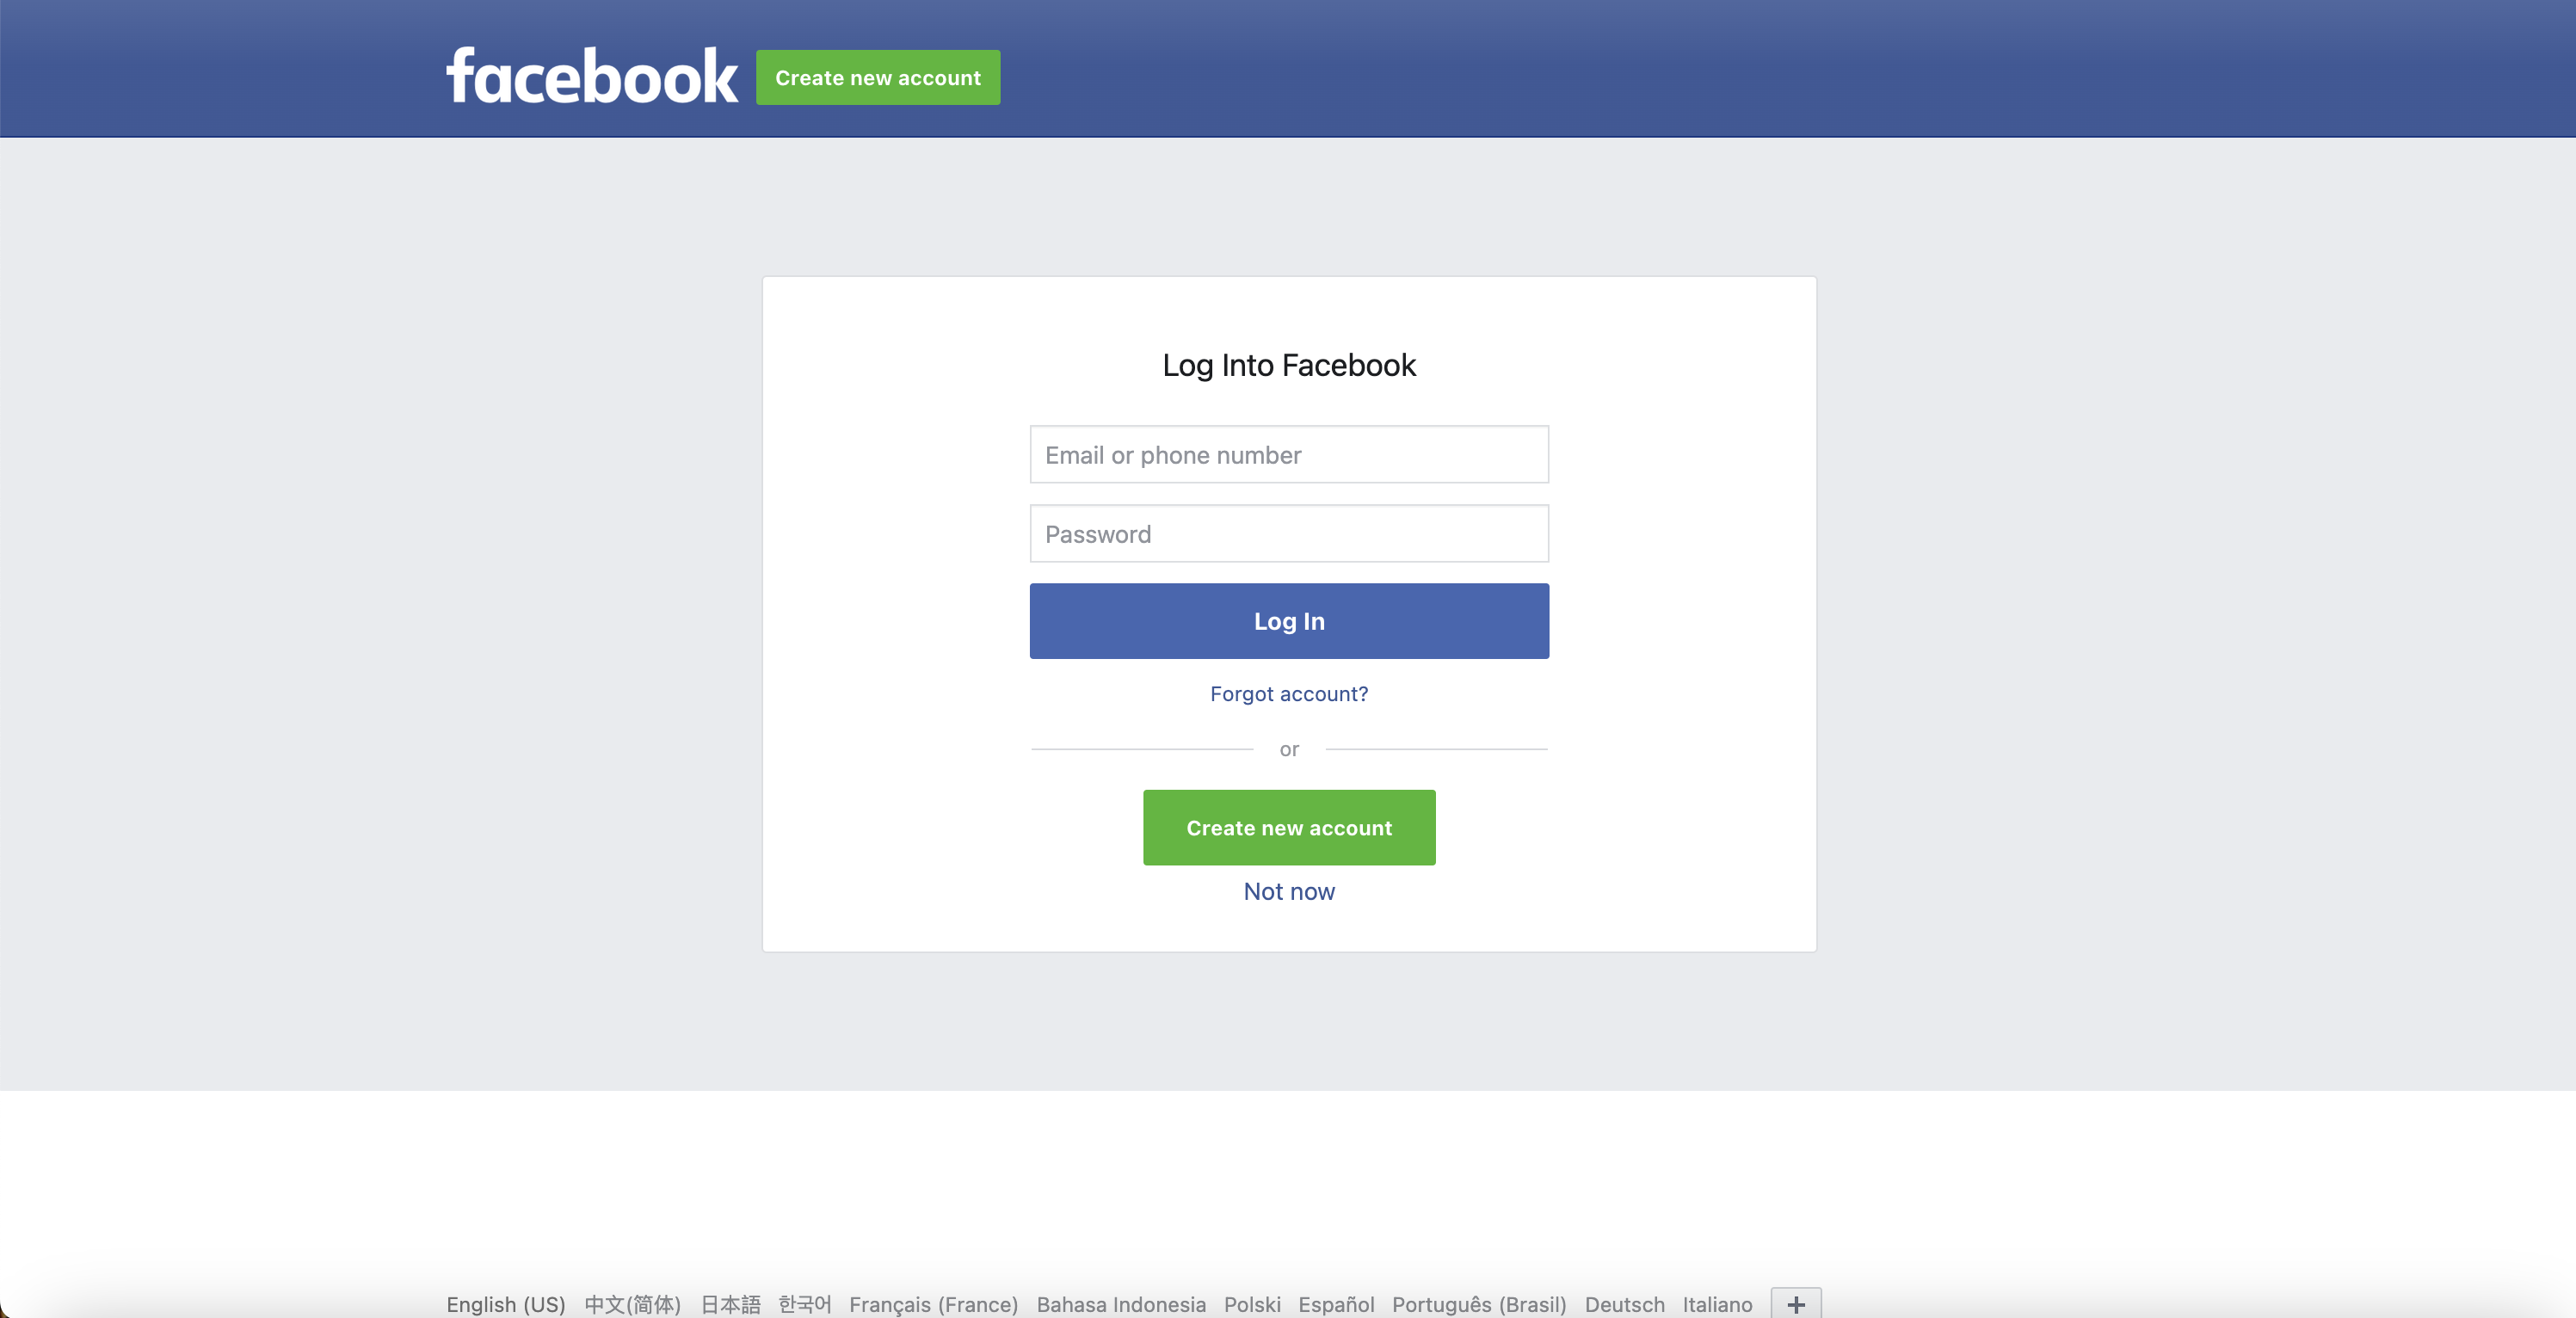
c. Click "Continue" to authorize access. 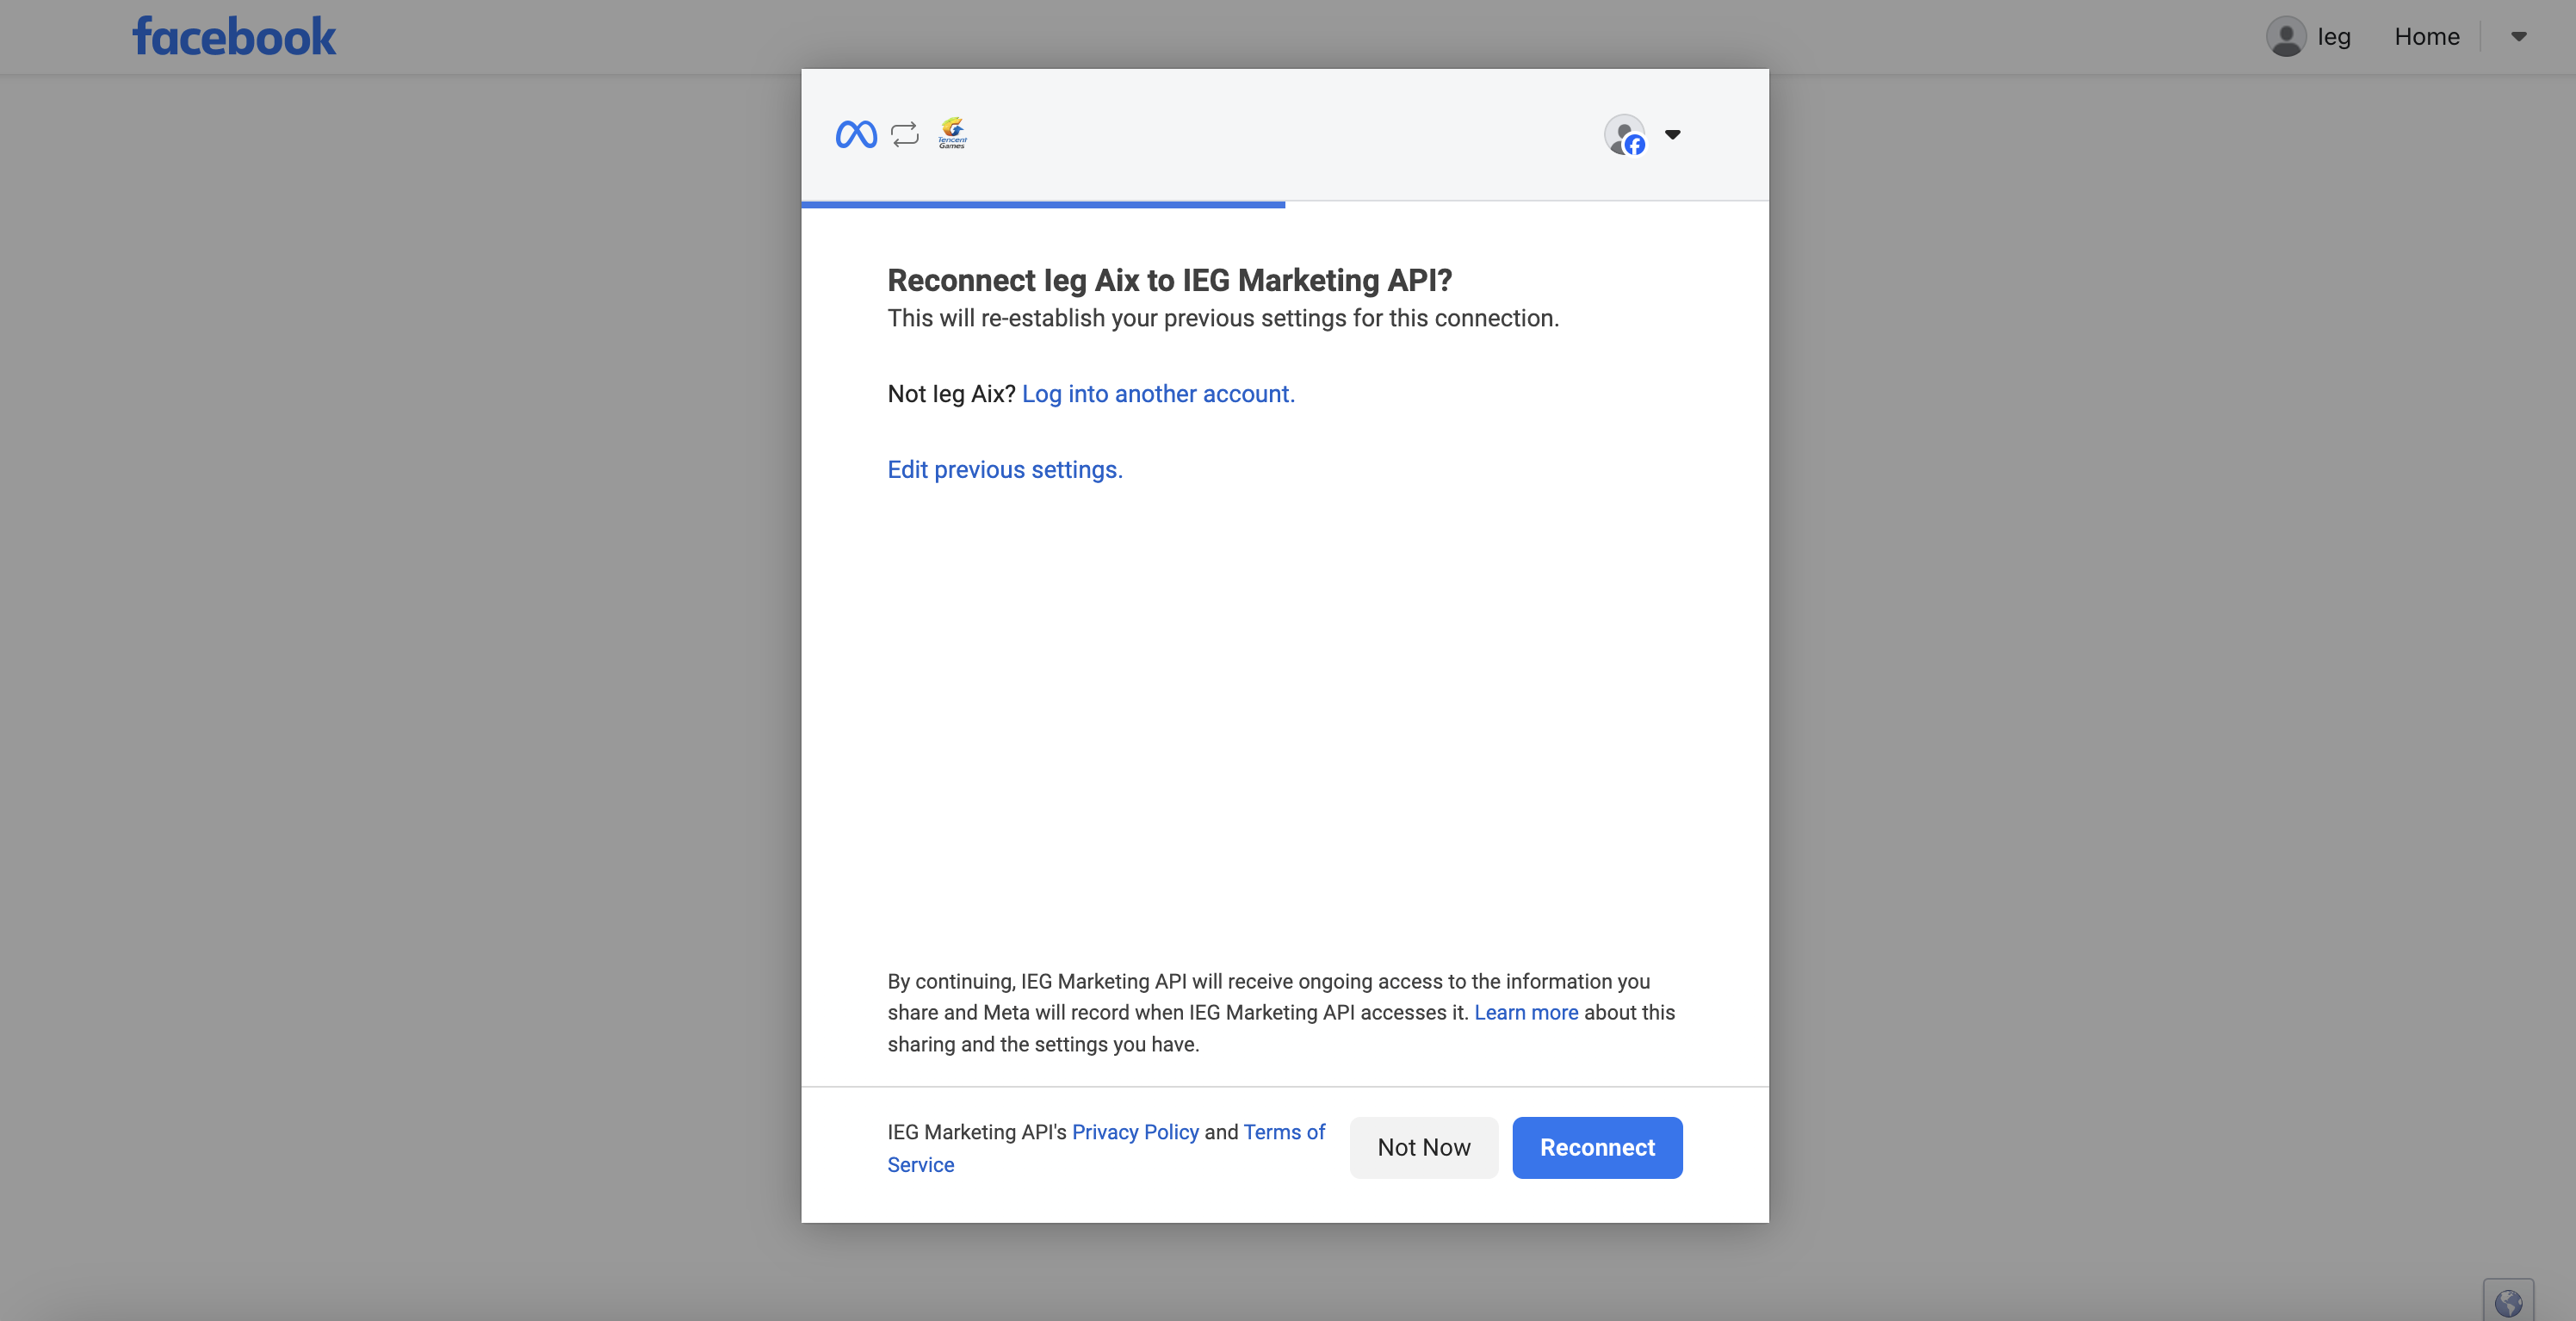
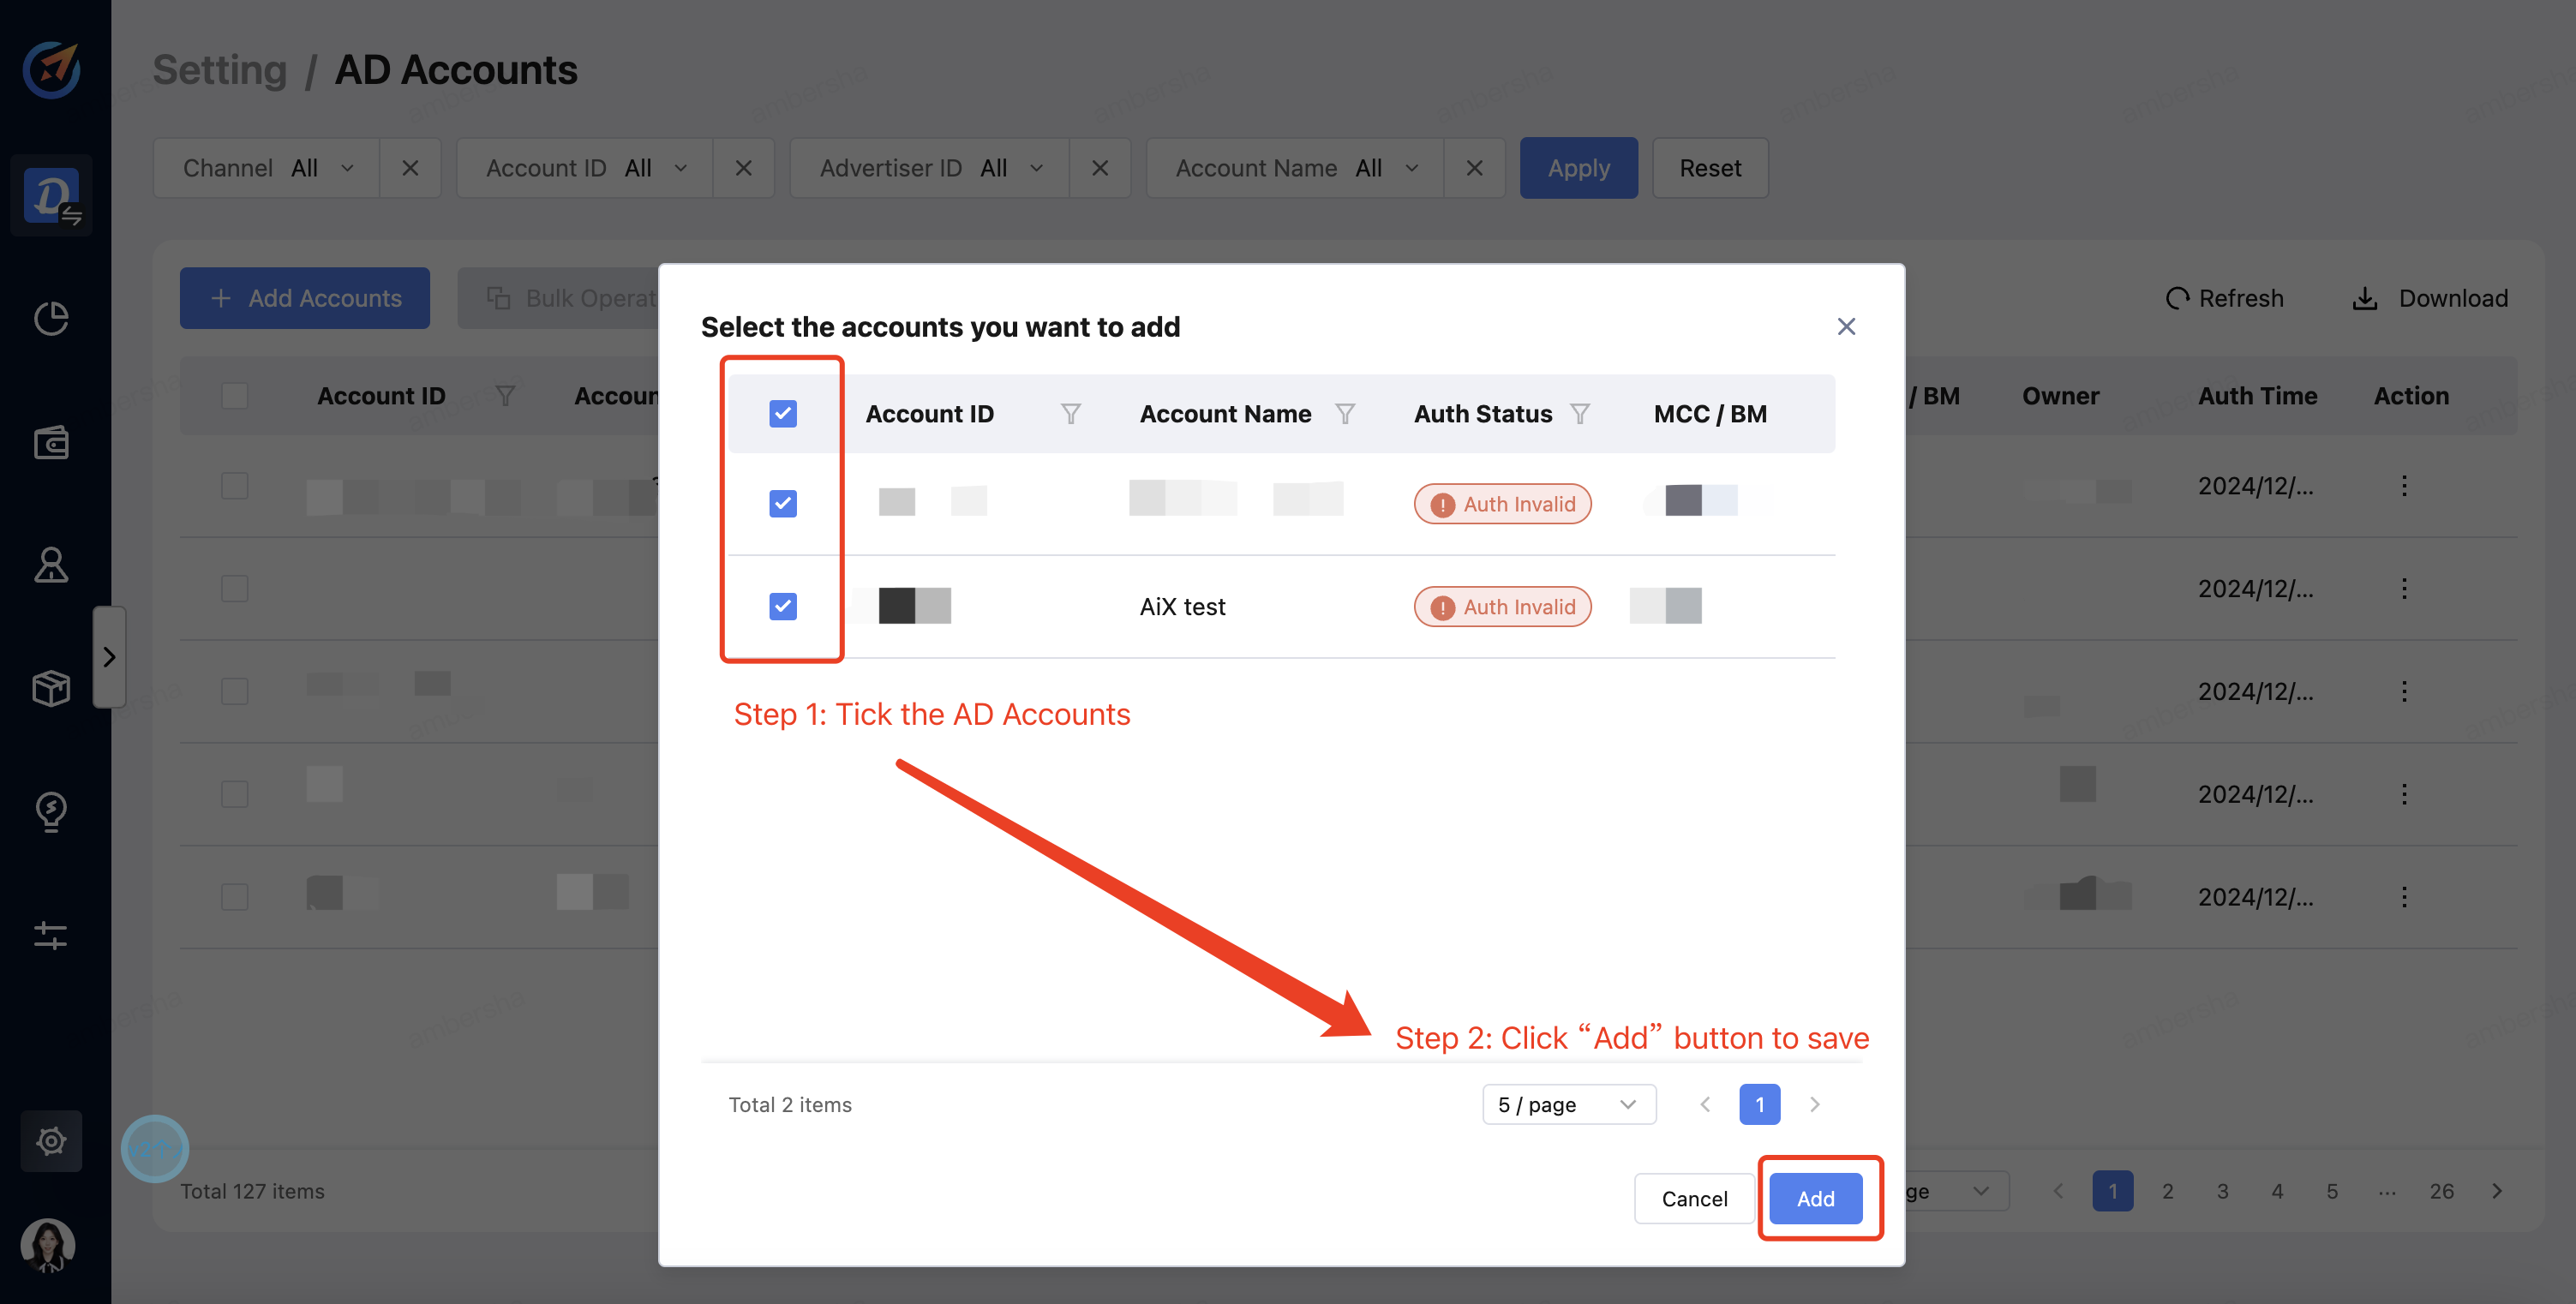
Step 4 - Authorize AD accounts
a. Tick the AD Accounts to be authorized and click "Add" button to complete the authorization.
NOTE:
- You need to have Business Manager permission to authorize AD accounts.
- Authorized AD accounts will not be able to be ticked again.
b. You can check the AD Account in the dashboard. The Authorized status indicates successful completion of the authorization process.